Your cart
There are no more items in your cart


Permanent filters
Ces filtres seront appliqués tout au long de votre navigation, vous pouvez les désactiver à tout moment.
Categories
Prepare and transmit your files for printing
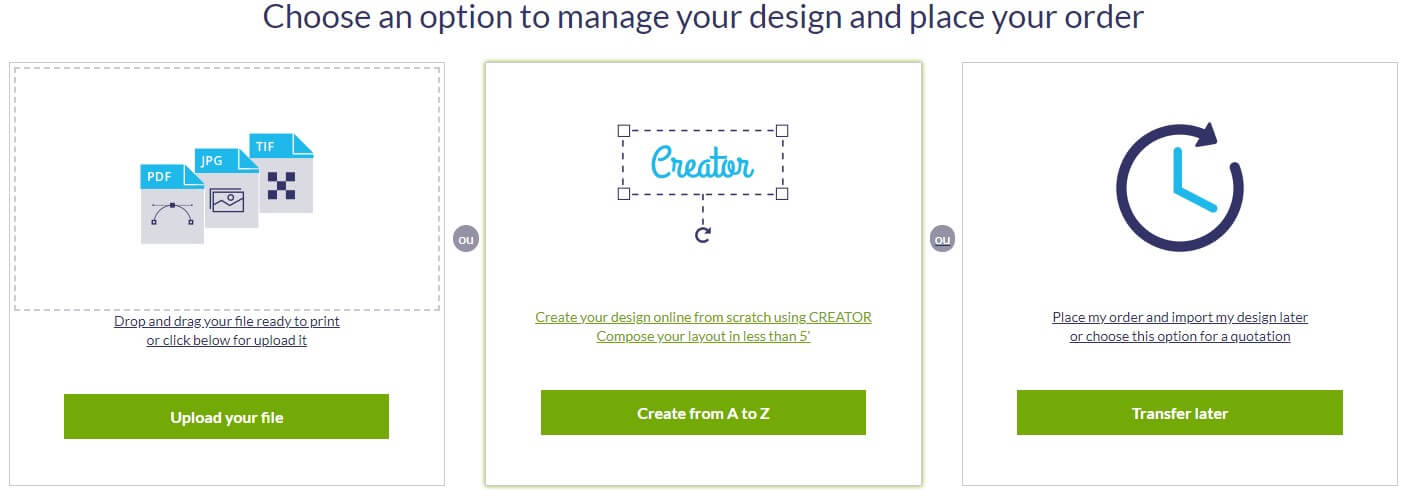
We propose you 2 solutions :
1. Use our tool CREATOR, which will lead you for your personal creation
2. Do it yourself following the instructions below
1. CREATOR, an online tool to create your imagery !
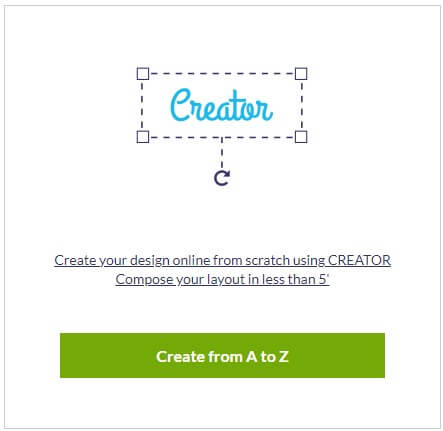
Get your pictures in few clicks...
Creating your communication support will have never been so simple !
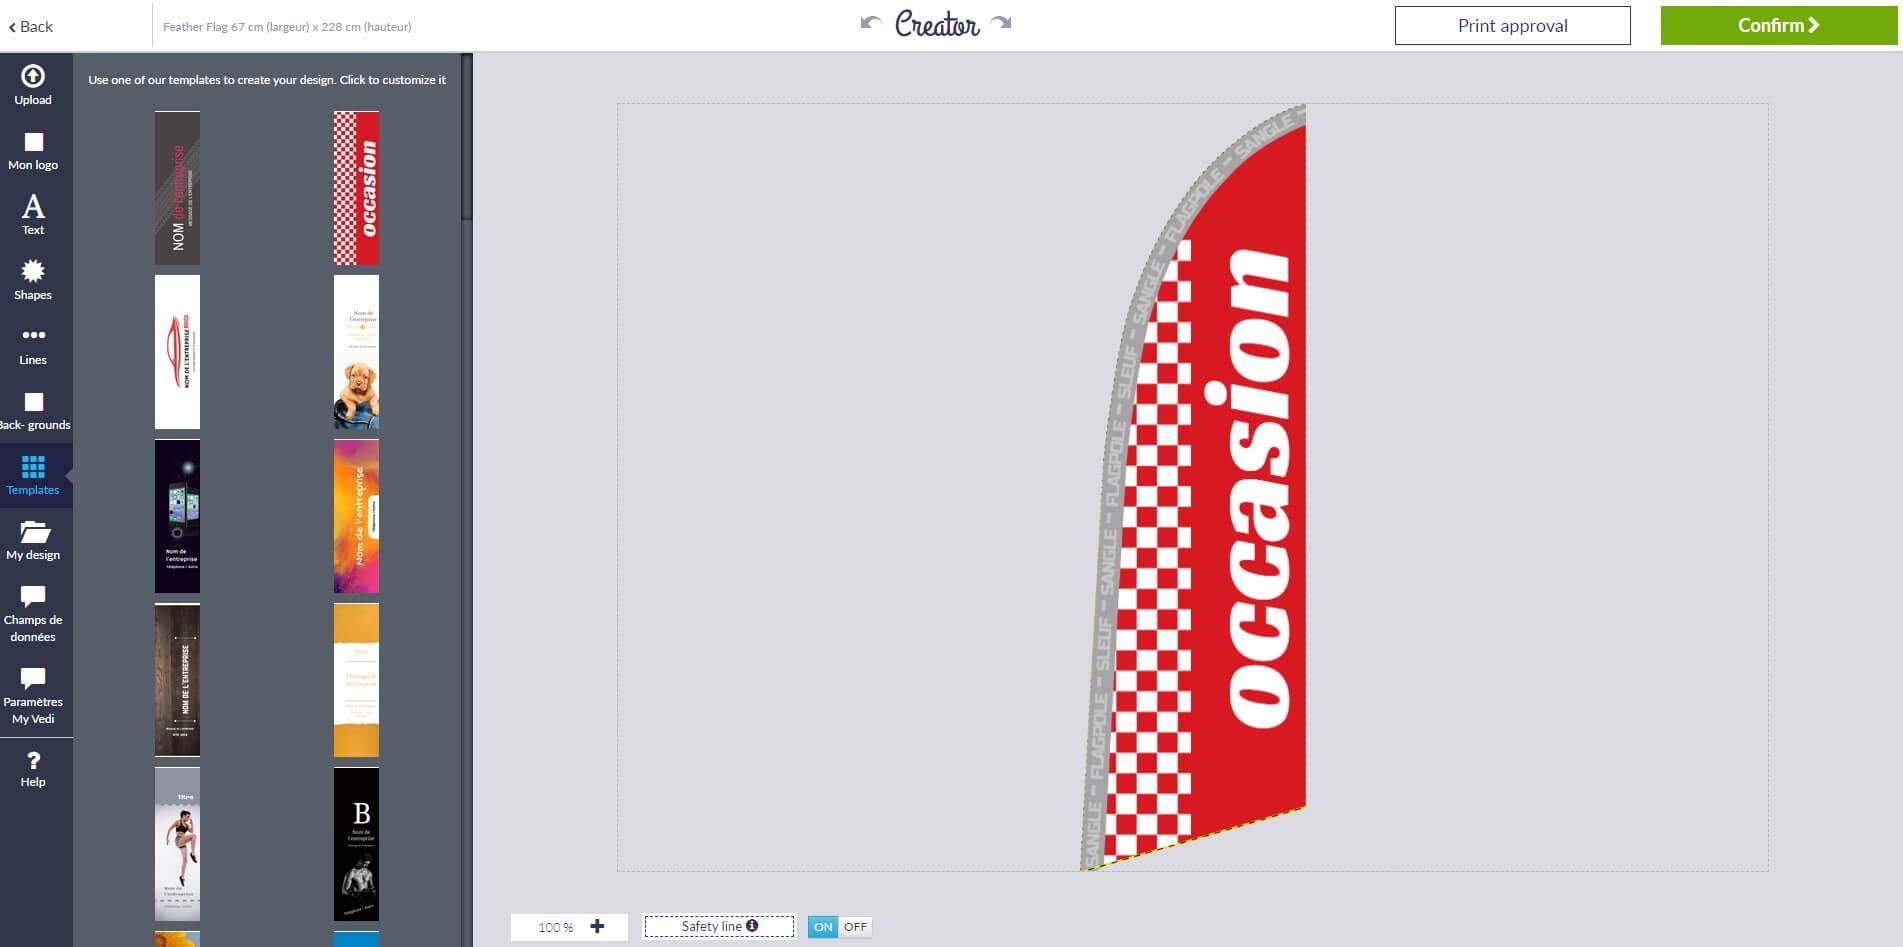
Creator offer a large range of tools :
No need pro graphical tool anymore, patterns to download, …
Into the Creator all is available and you even can follow the technical requirements in the same time
. Import pictures
. Add text
. Add shapes and lines
. Choice among over 1 million free-rights pictures
. Using templates on the theme
Want to use it ?
Choose a product, a support and go to next step.
Select Creator option for your imagery !
2. Create a correct file for printing
1. Resolution
The optimal files resolution are spread from 40 to 100 DPI in full size, 200 DPI for smaller sizes below 50cm (e.g.: rollup A3, …),
Result indication : 40 DPI = clear view from 2 meters, 100 DPI = clear view from 50 cm.
2. Dimensions
The size of the imagery to print is shown in the chosen item description.
The required patterns for your imageries making are available onto each product page. No need of crop marks, bleed area,... it's our printing system job.
Look out! : Be sure don't put text elements on your imagery edges (valid for whole area).
The “without text” area to plan is from 10 to 130 mm depending the selected product type. Make reference to specific features detailed on the pattern.
3. Files type
JPEG : largest quality compression
PDF : In high resolution and with vectorized fonts. If your imagery is in PDF and is higher than 490 cm, be sure to use a reent acrobat PDF version (min. 1.6)
TIFF : If it's possible, use the LZW compression method (flatten picture and not password protected)
Look out! : It's imperative to provide one file by imagery (2 imageries = 2 files).
Avoid using of Transparency and Overprint : It would be bring problems during your files processing.
4. Colors
All files must be sent in CMYK mode (cyan, magenta, yellow, black) with the FOGRA39 color profile. Pictures in RGB or includinf PANTONE will be automatically convert to CMYK.
A similar color can appear slightly different depending the print support. It comes from the material basis color and its components.
5. Patterns
Be sure to download the pattern related to product page.
You'll find there the imagery to print dimensions, safety areas and different informations about design creation.
If you use pattern as basis, don't forget to delete the markers line and all other informations.
6. Upload your file online (Ultra Fast Uploading System)
You upload your file when you're ordering the item using the “Upload your file” green button.
The uploading system is powerful and allow huge files transfert. The transmission speed depend of your ascending connection speed (=uploading);
Through our efficient uploading sytem, you can be sure that each file is directly linked to the ordered item;
If you don't have the ready-to-print file when you're ordering the item, there's no problem, you will be able to upload it later going to : “Your account > Waiting pictures”